Free Downloads
Film simulation
LUTs for Lumix.
Fujifilm-inspired film simulations built and tested on the Lumix S5IIX and S9. Free to download, free to use — drop them into Lumix Lab or any .cube-compatible editor.
Lumix Lab users: Select Standard photo style before applying these LUTs in Lumix Lab for best results. These are optimized for the Lumix sensor's warm/red bias.
Fujifilm
4 LUTs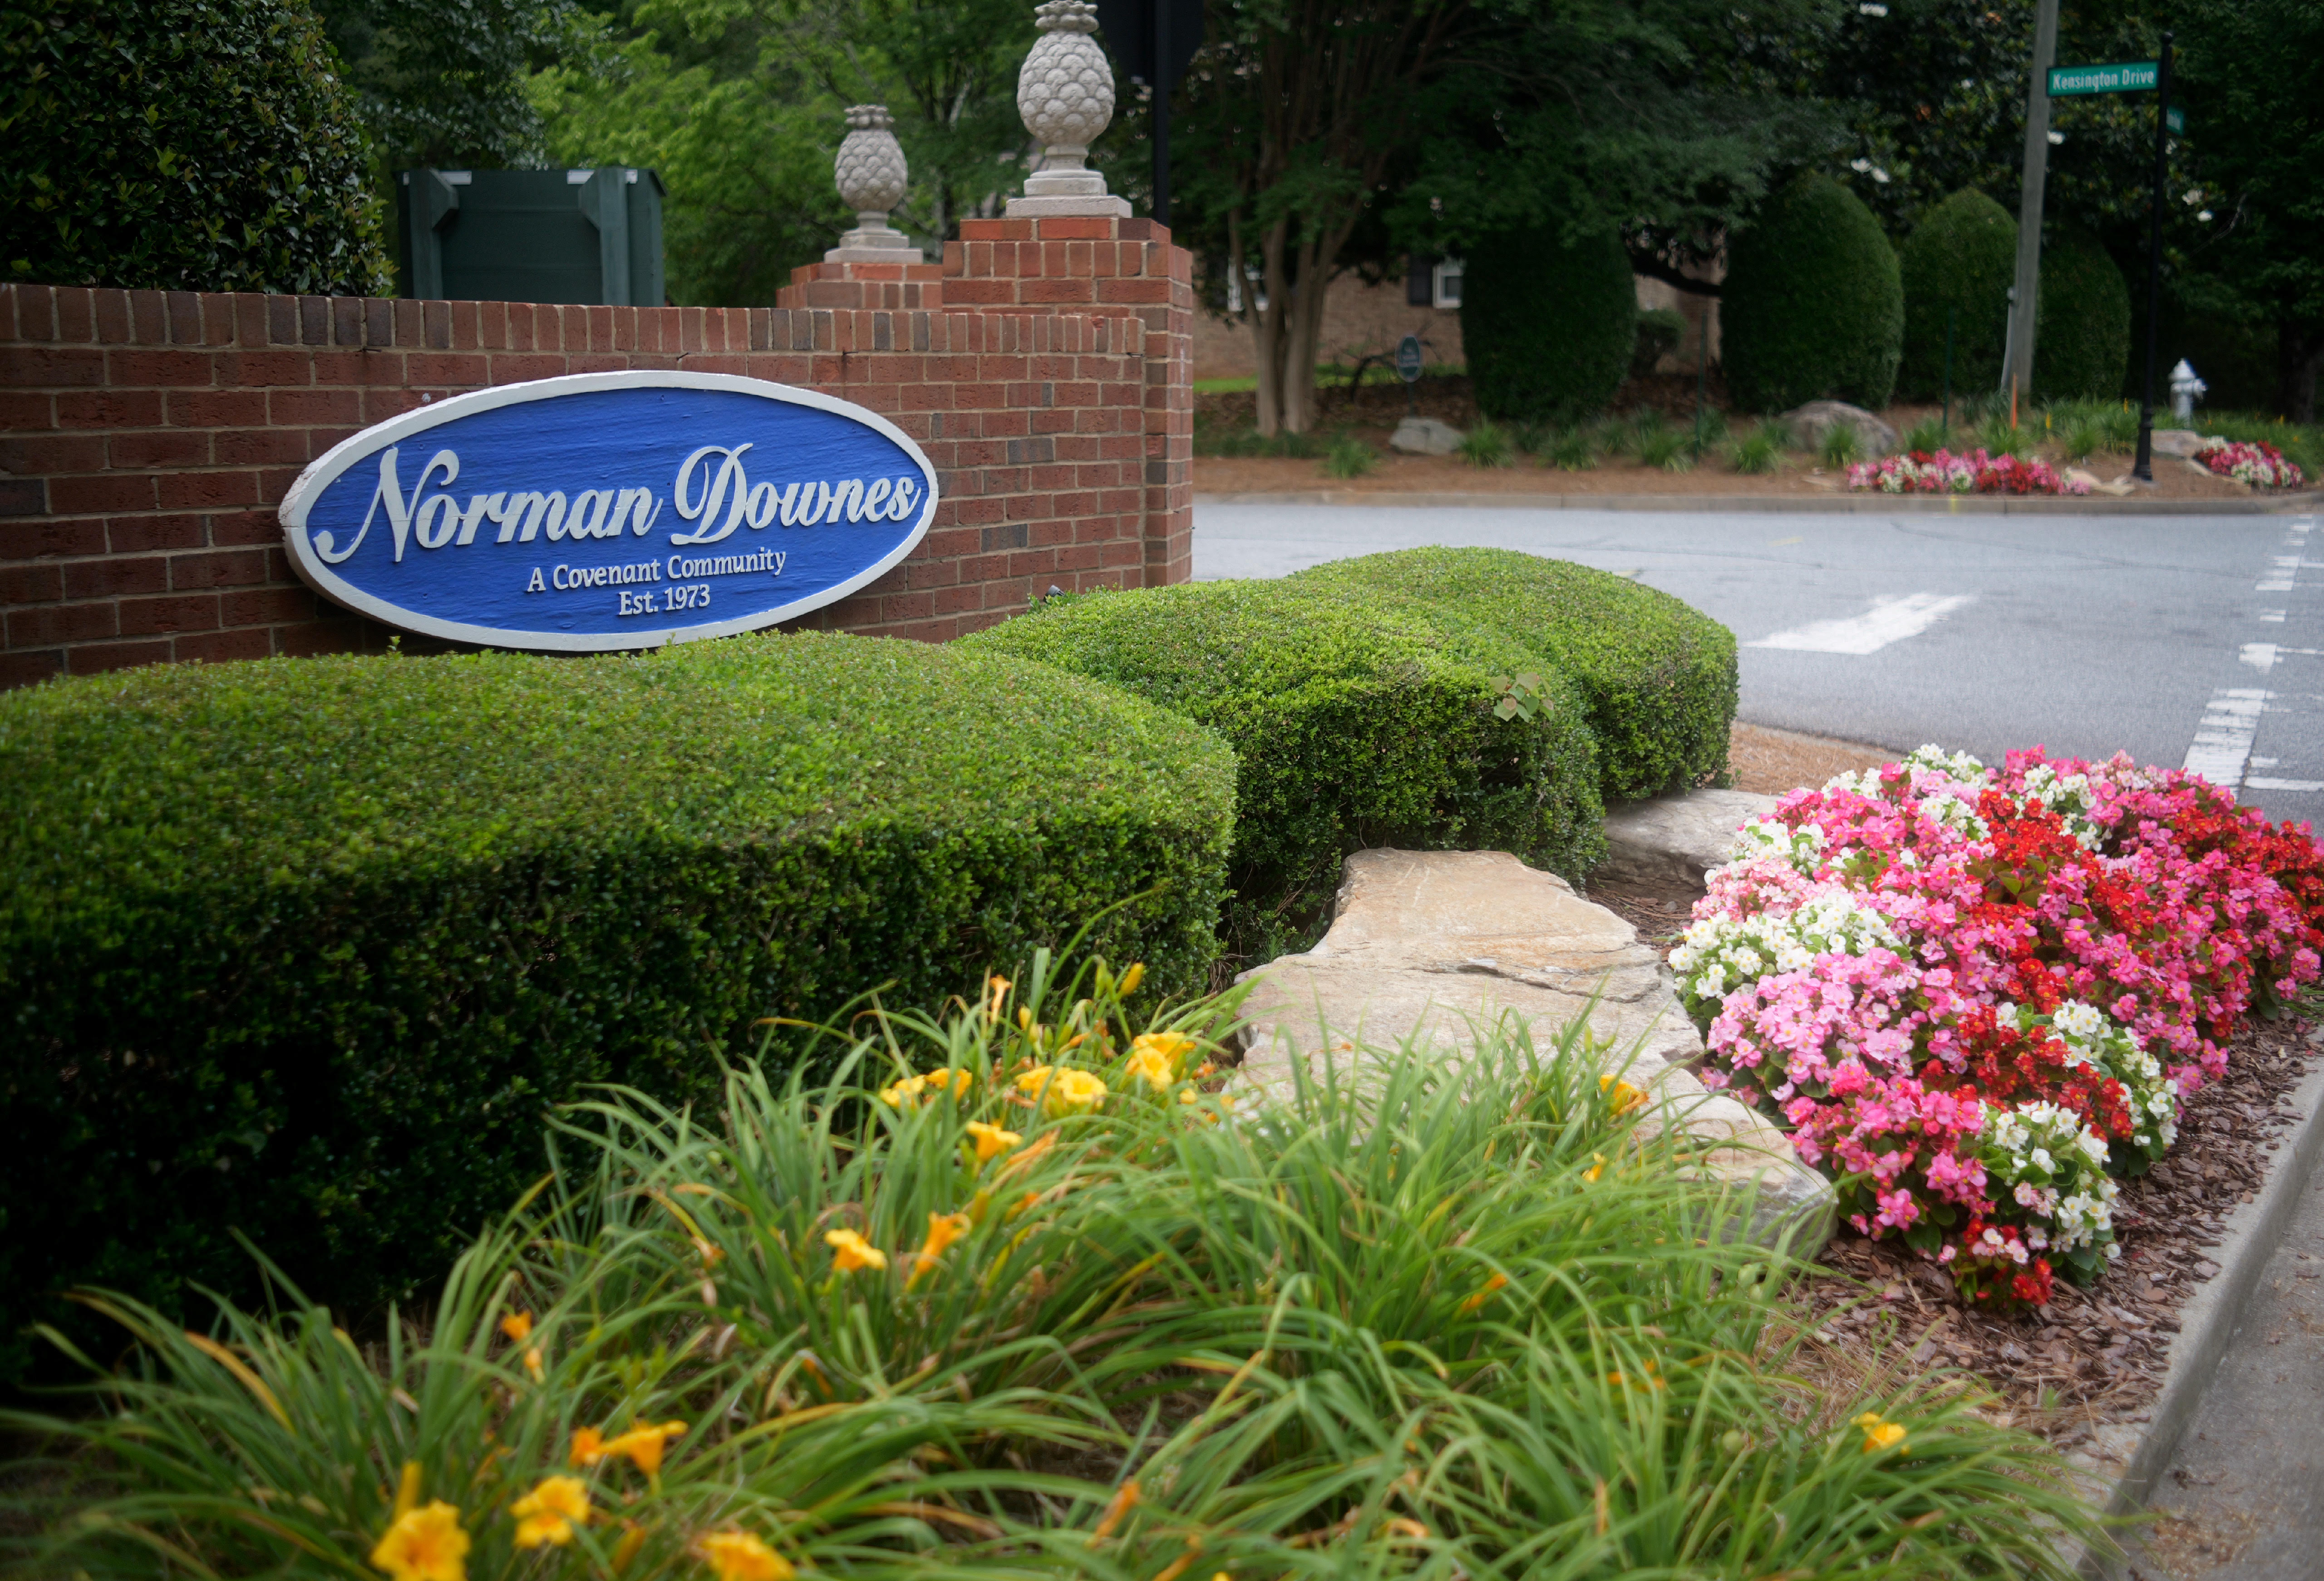
 BeforeAfter
Provia / Standard
A faithful recreation of Fujifilm's workhorse film simulation. Balanced, natural tones with slightly boosted contrast and saturation — versatile across every shooting situation from landscapes to street.
 BeforeAfter
Astia / Soft
Soft, flattering skin tones with gentle contrast and subdued saturation. Originally designed for portrait and fashion work — beautiful on people, animals, and anything with warm organic texture.
 BeforeAfter
Eterna Cinema
Fujifilm's cinematic simulation with subdued shadows, desaturated highlights, and a subtle film-like rolloff. Designed to look like it was shot on motion picture stock — particularly effective for moody landscape and documentary work.
 BeforeAfter
Velvia 50
Fujifilm's legendary landscape film — vivid, punchy, and highly saturated. Deep blues, vivid greens, and rich reds with strong contrast and near-black shadows. Built for scenes that deserve to pop.
 BeforeAfter
Portra 400
The gold standard portrait film. Warm, creamy tones with flattering pinkish skin rendering, lifted shadows, and an incredibly smooth highlight rolloff. The most universally flattering LUT in the pack.
 BeforeAfter
Gold 200
Warm golden tones with a distinctly nostalgic character. Strong orange-warm bias across the frame — greens go golden, blues go warm, skin glows. The film that defined the look of summer snapshots.
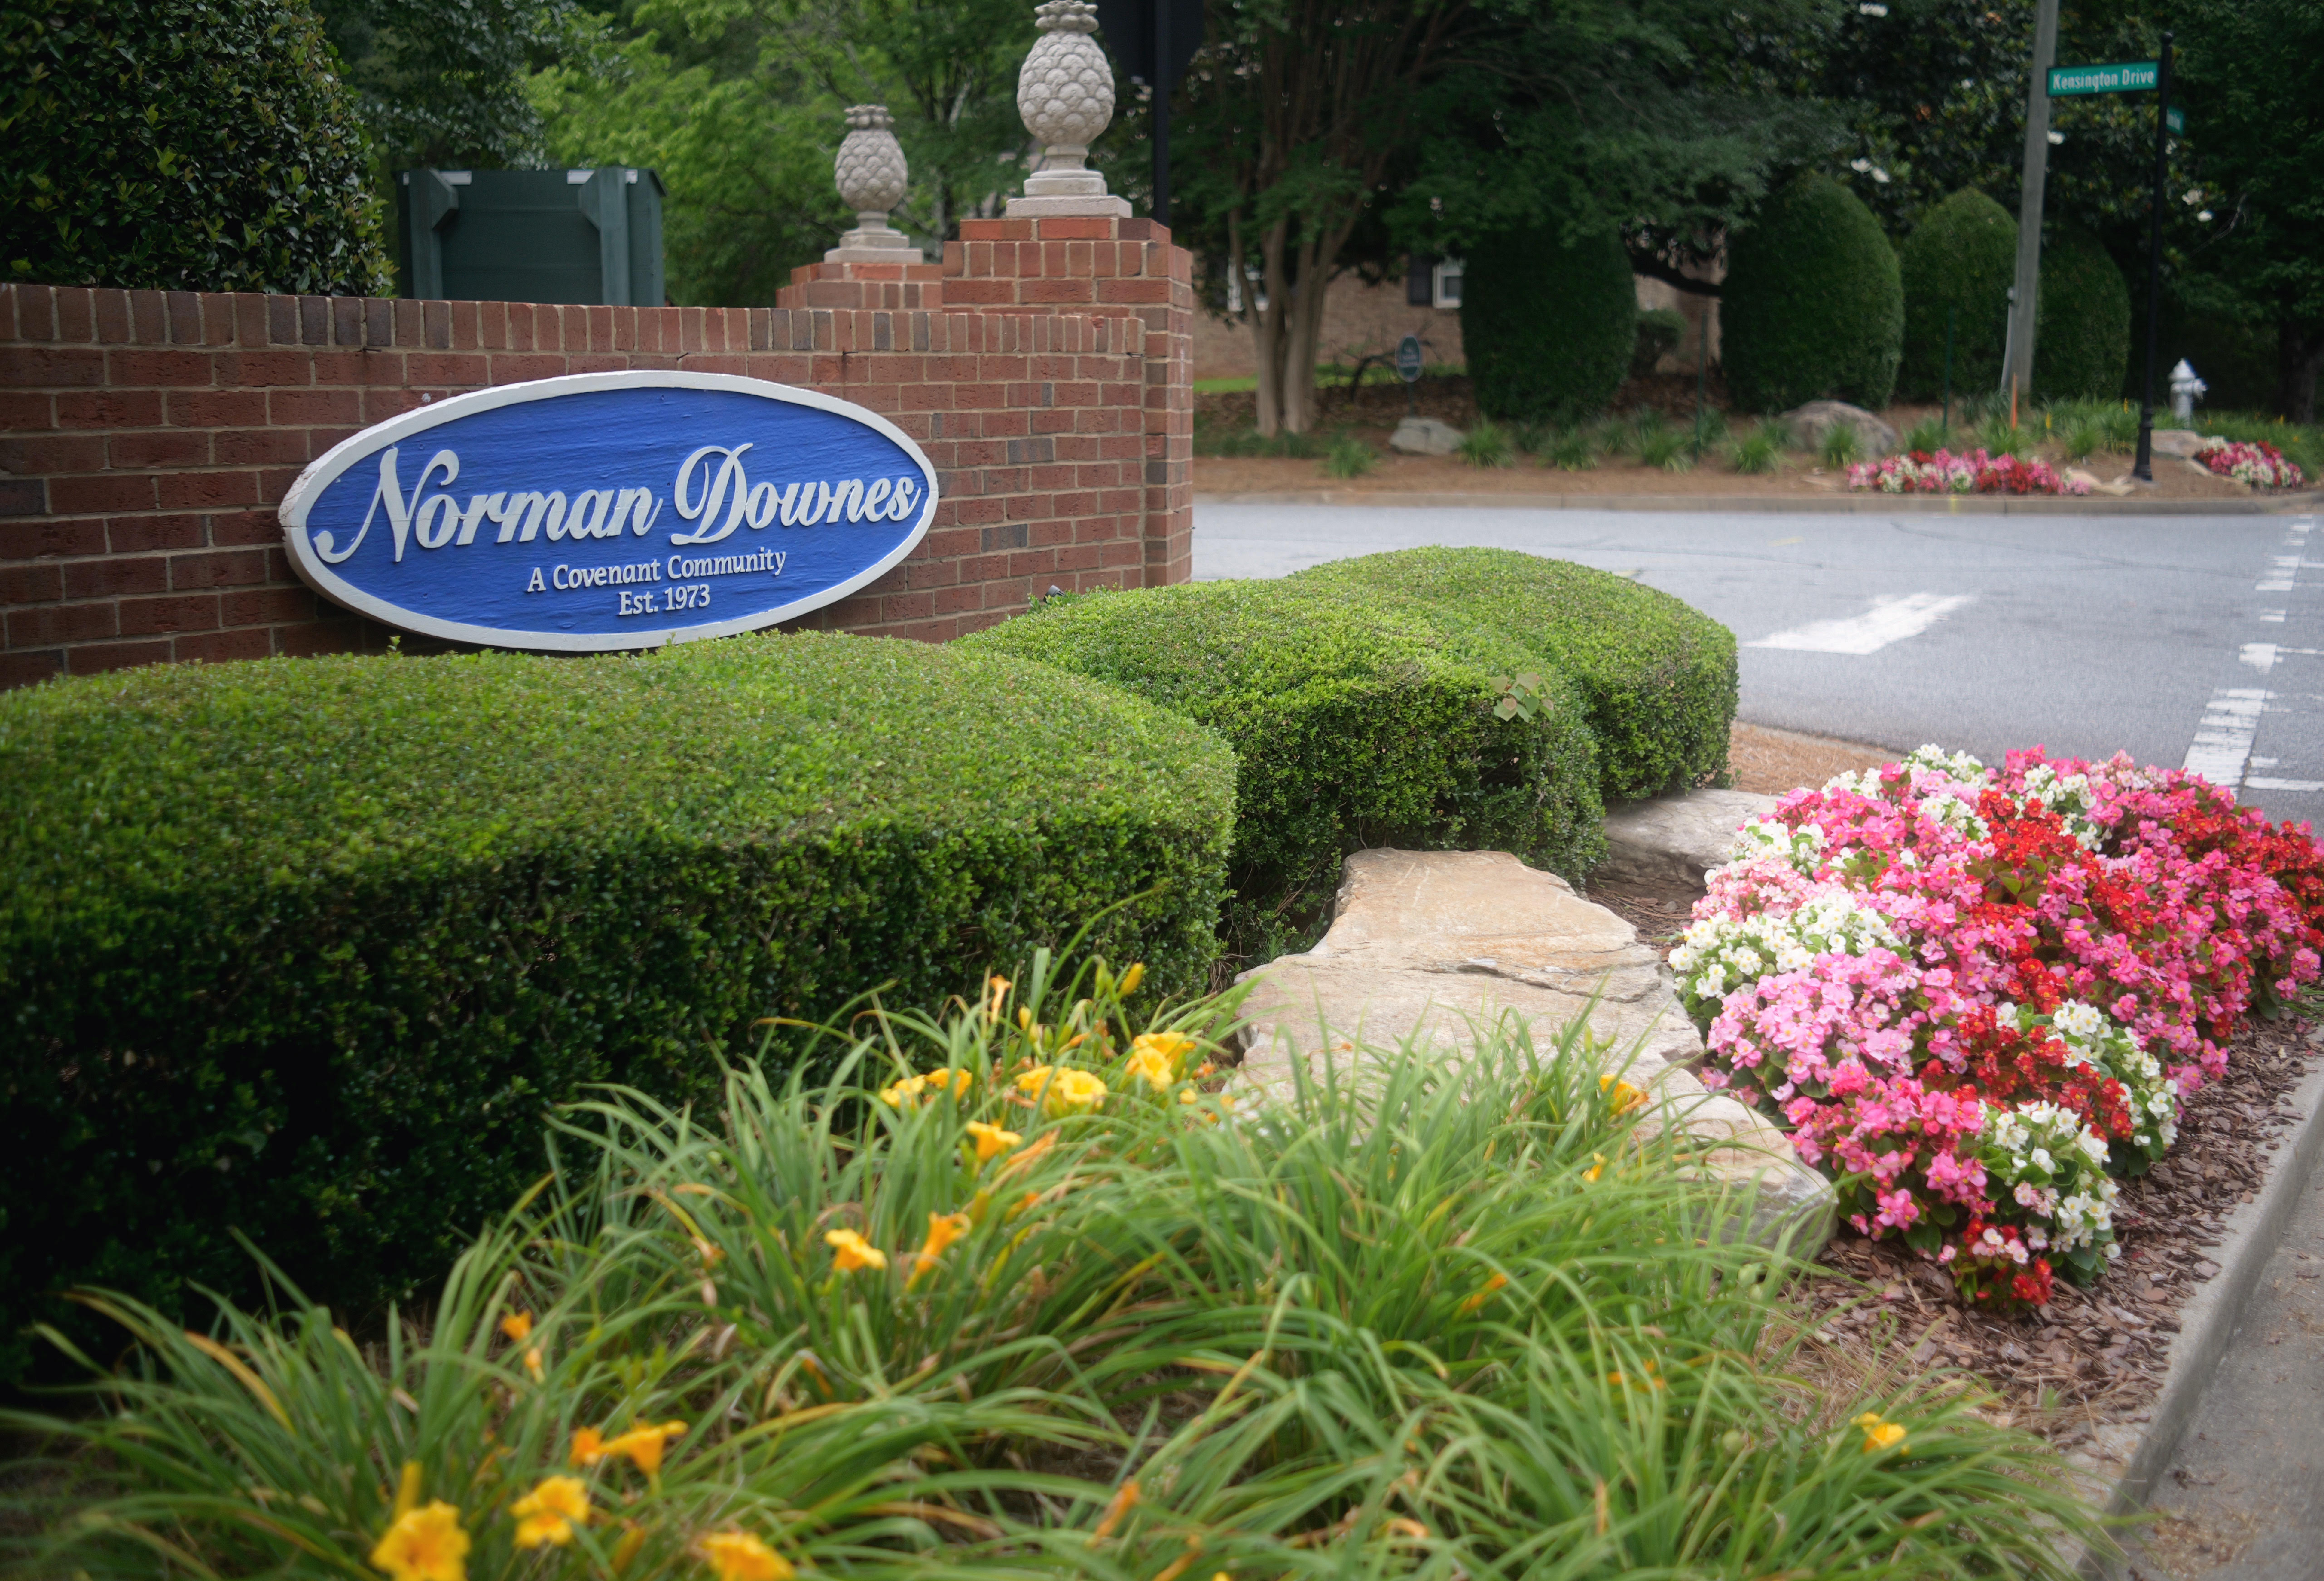
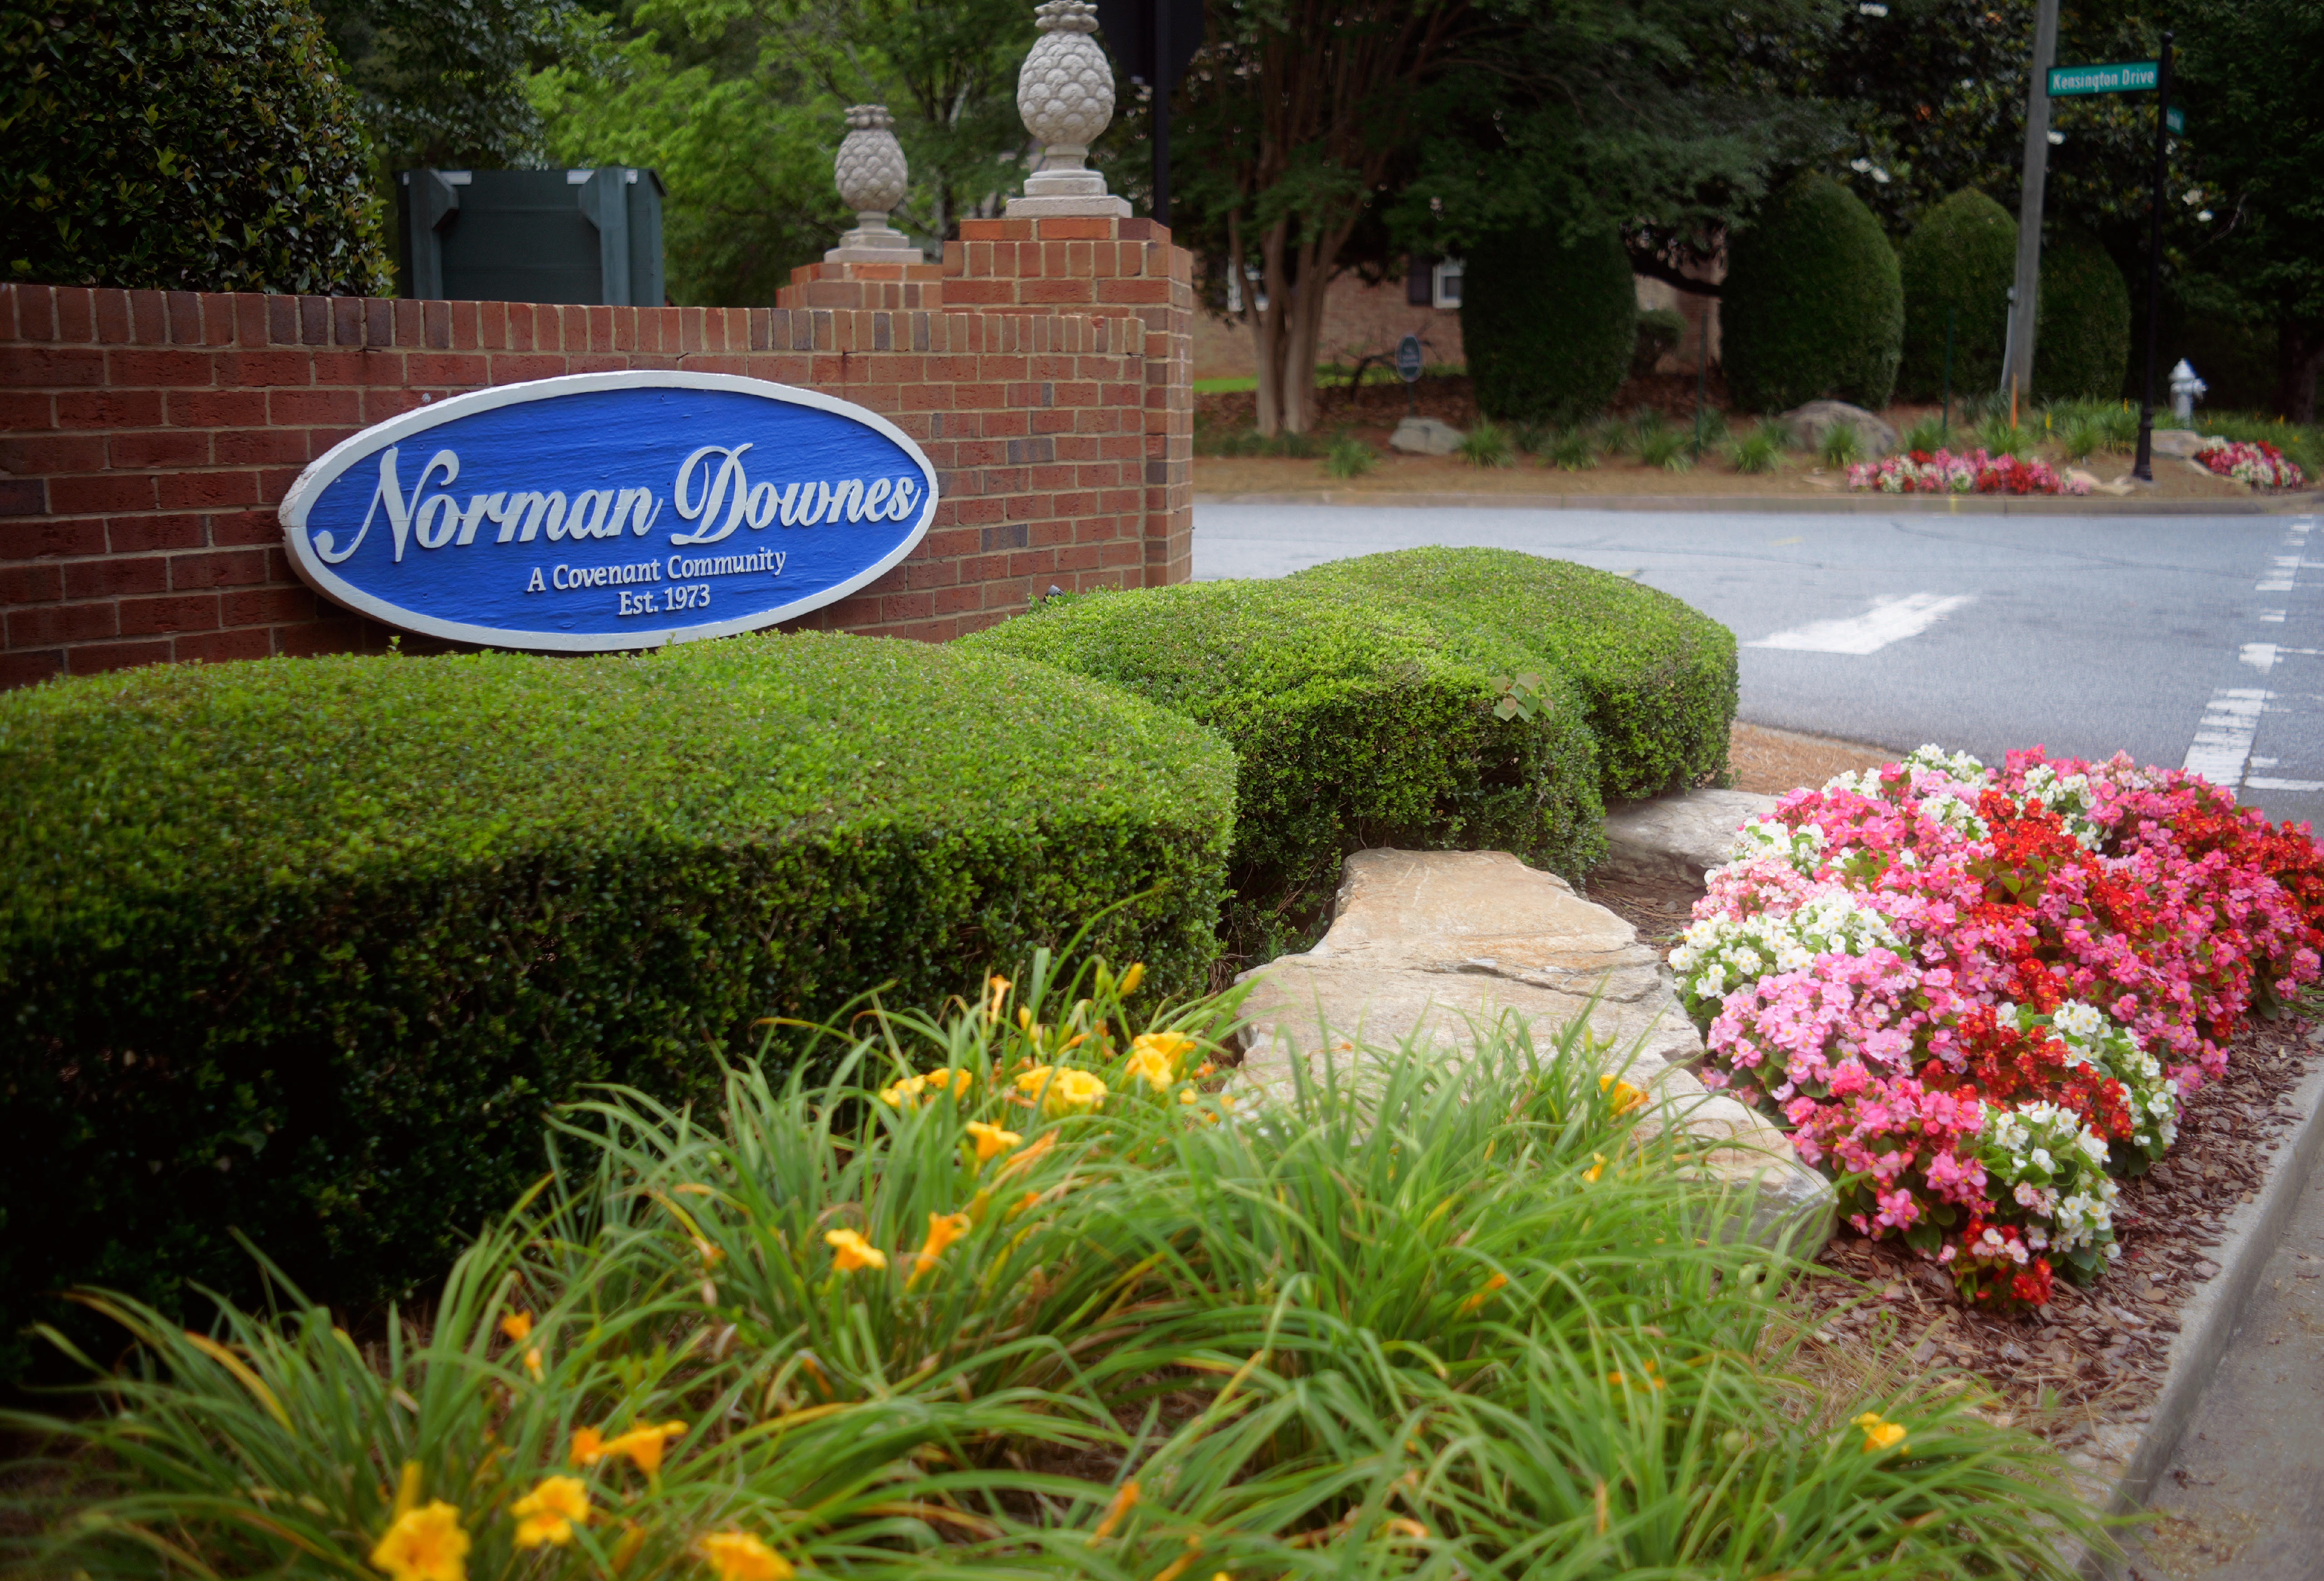
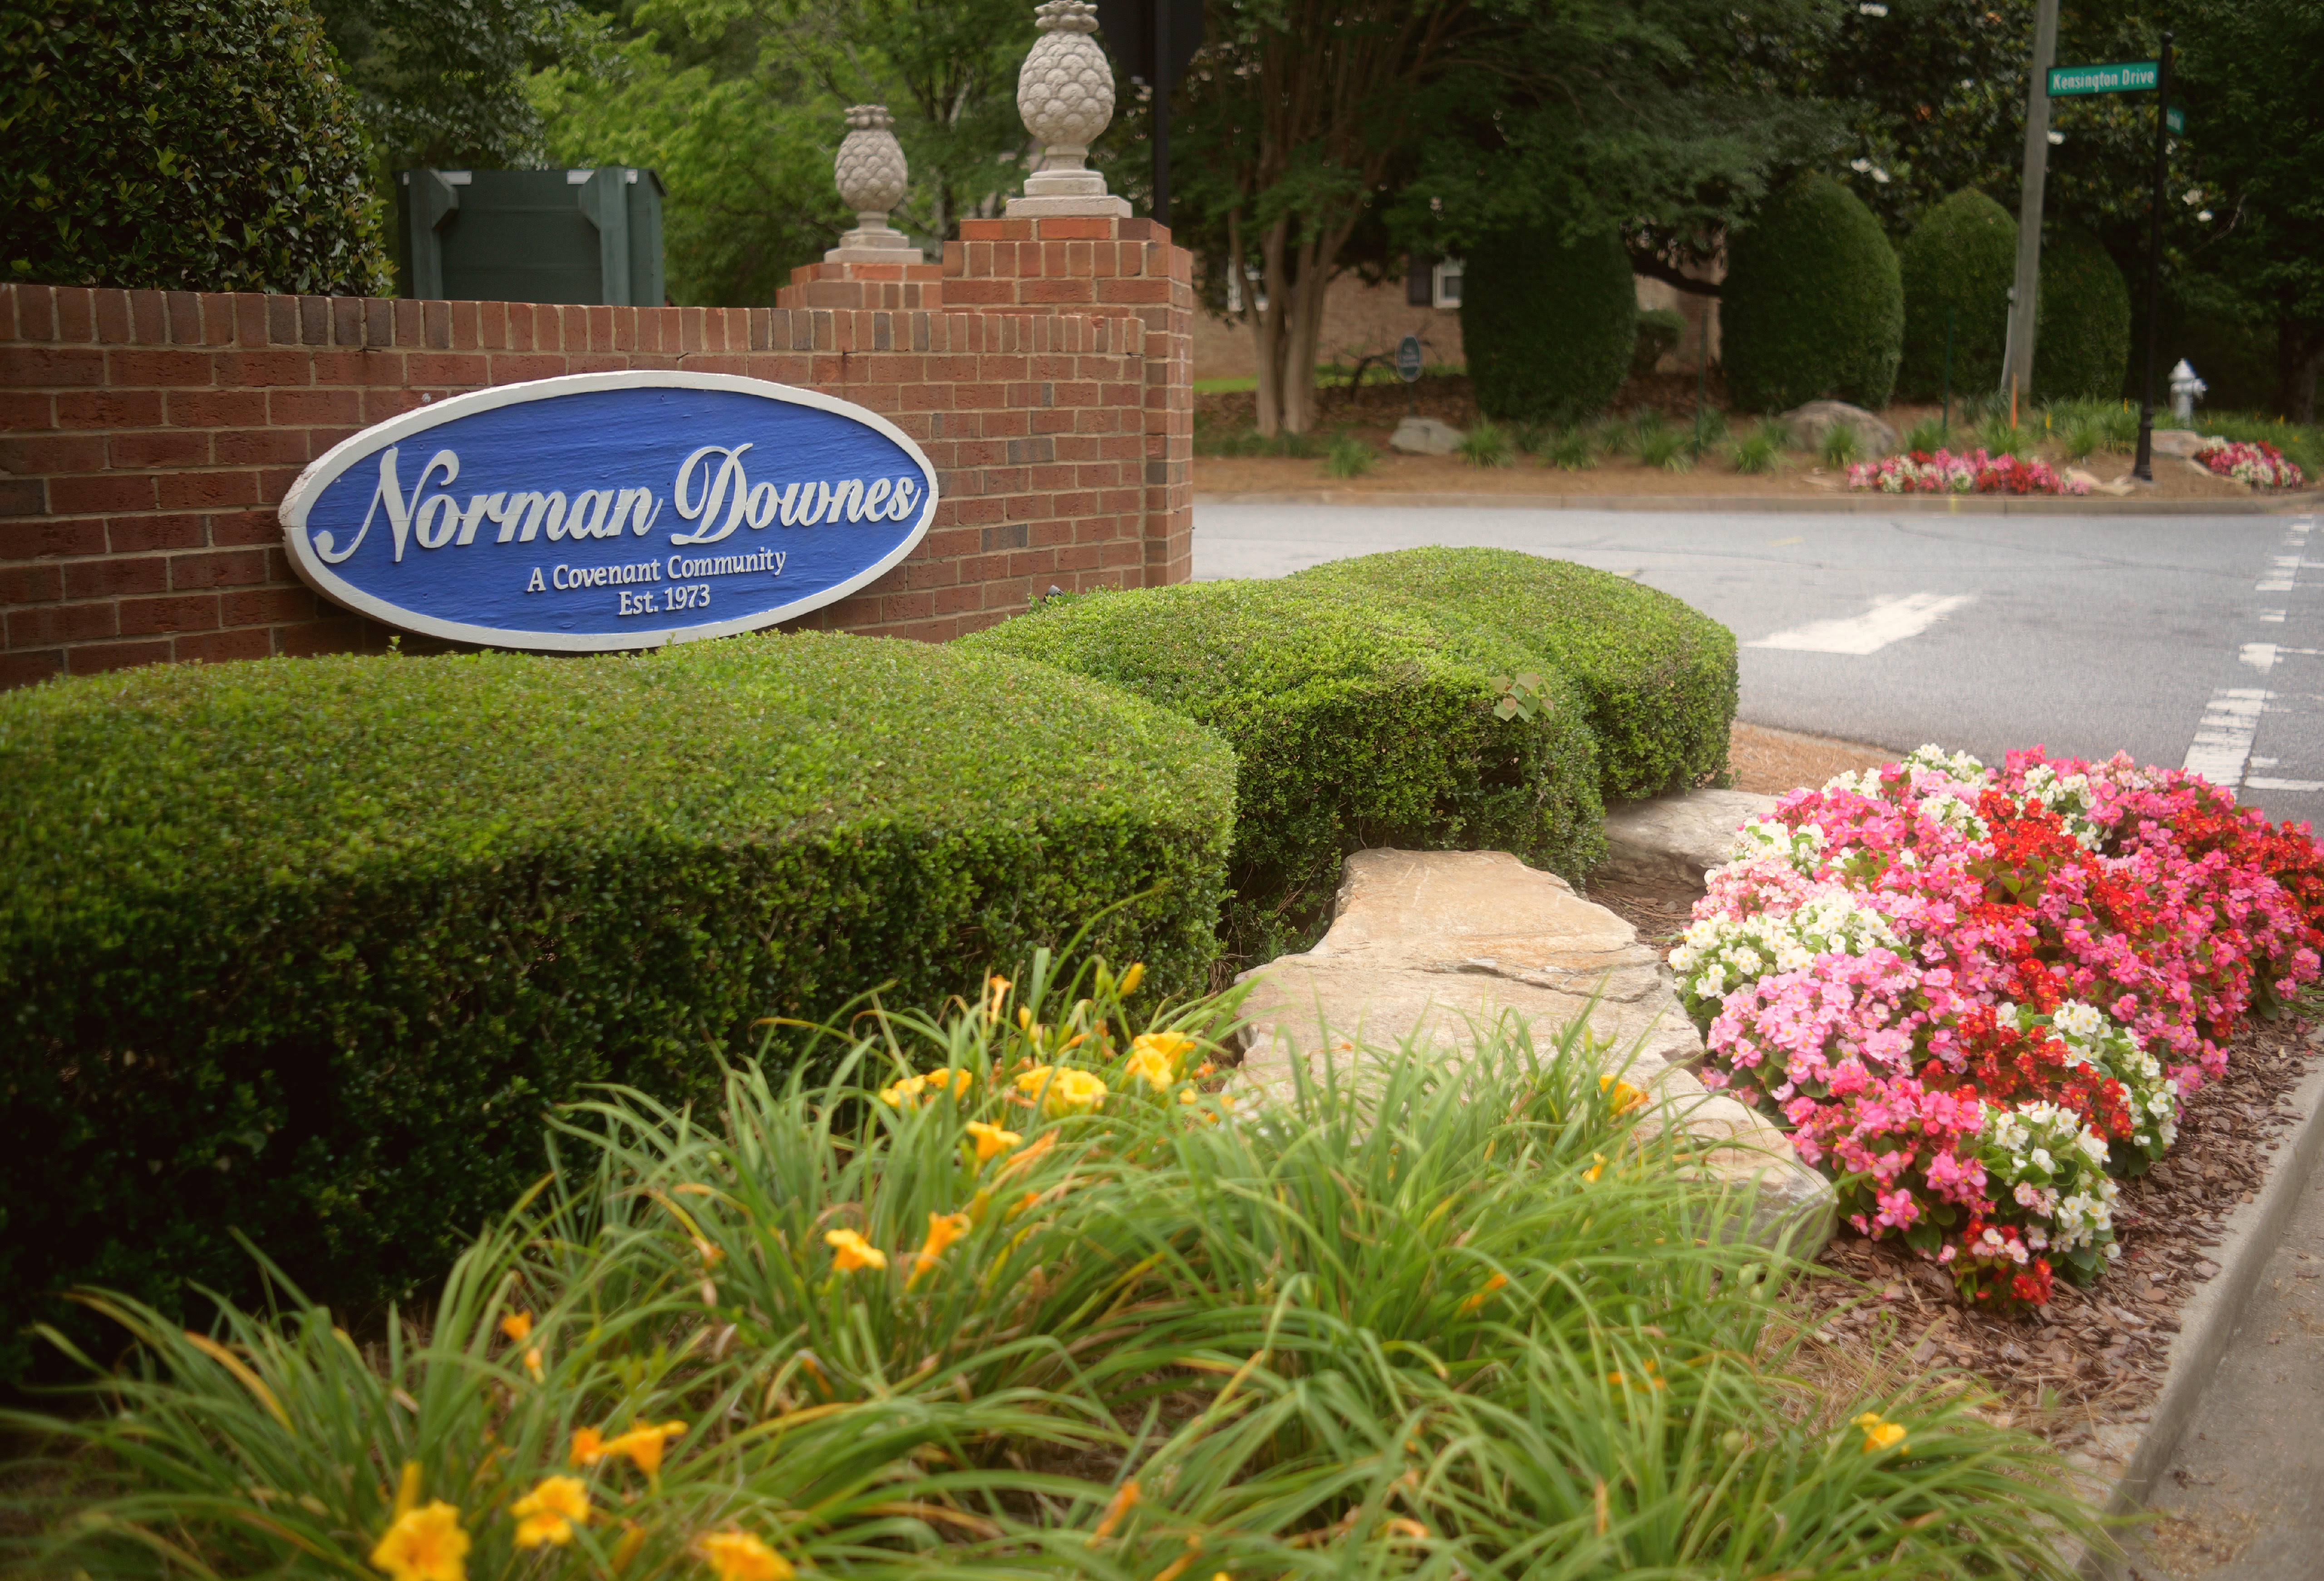
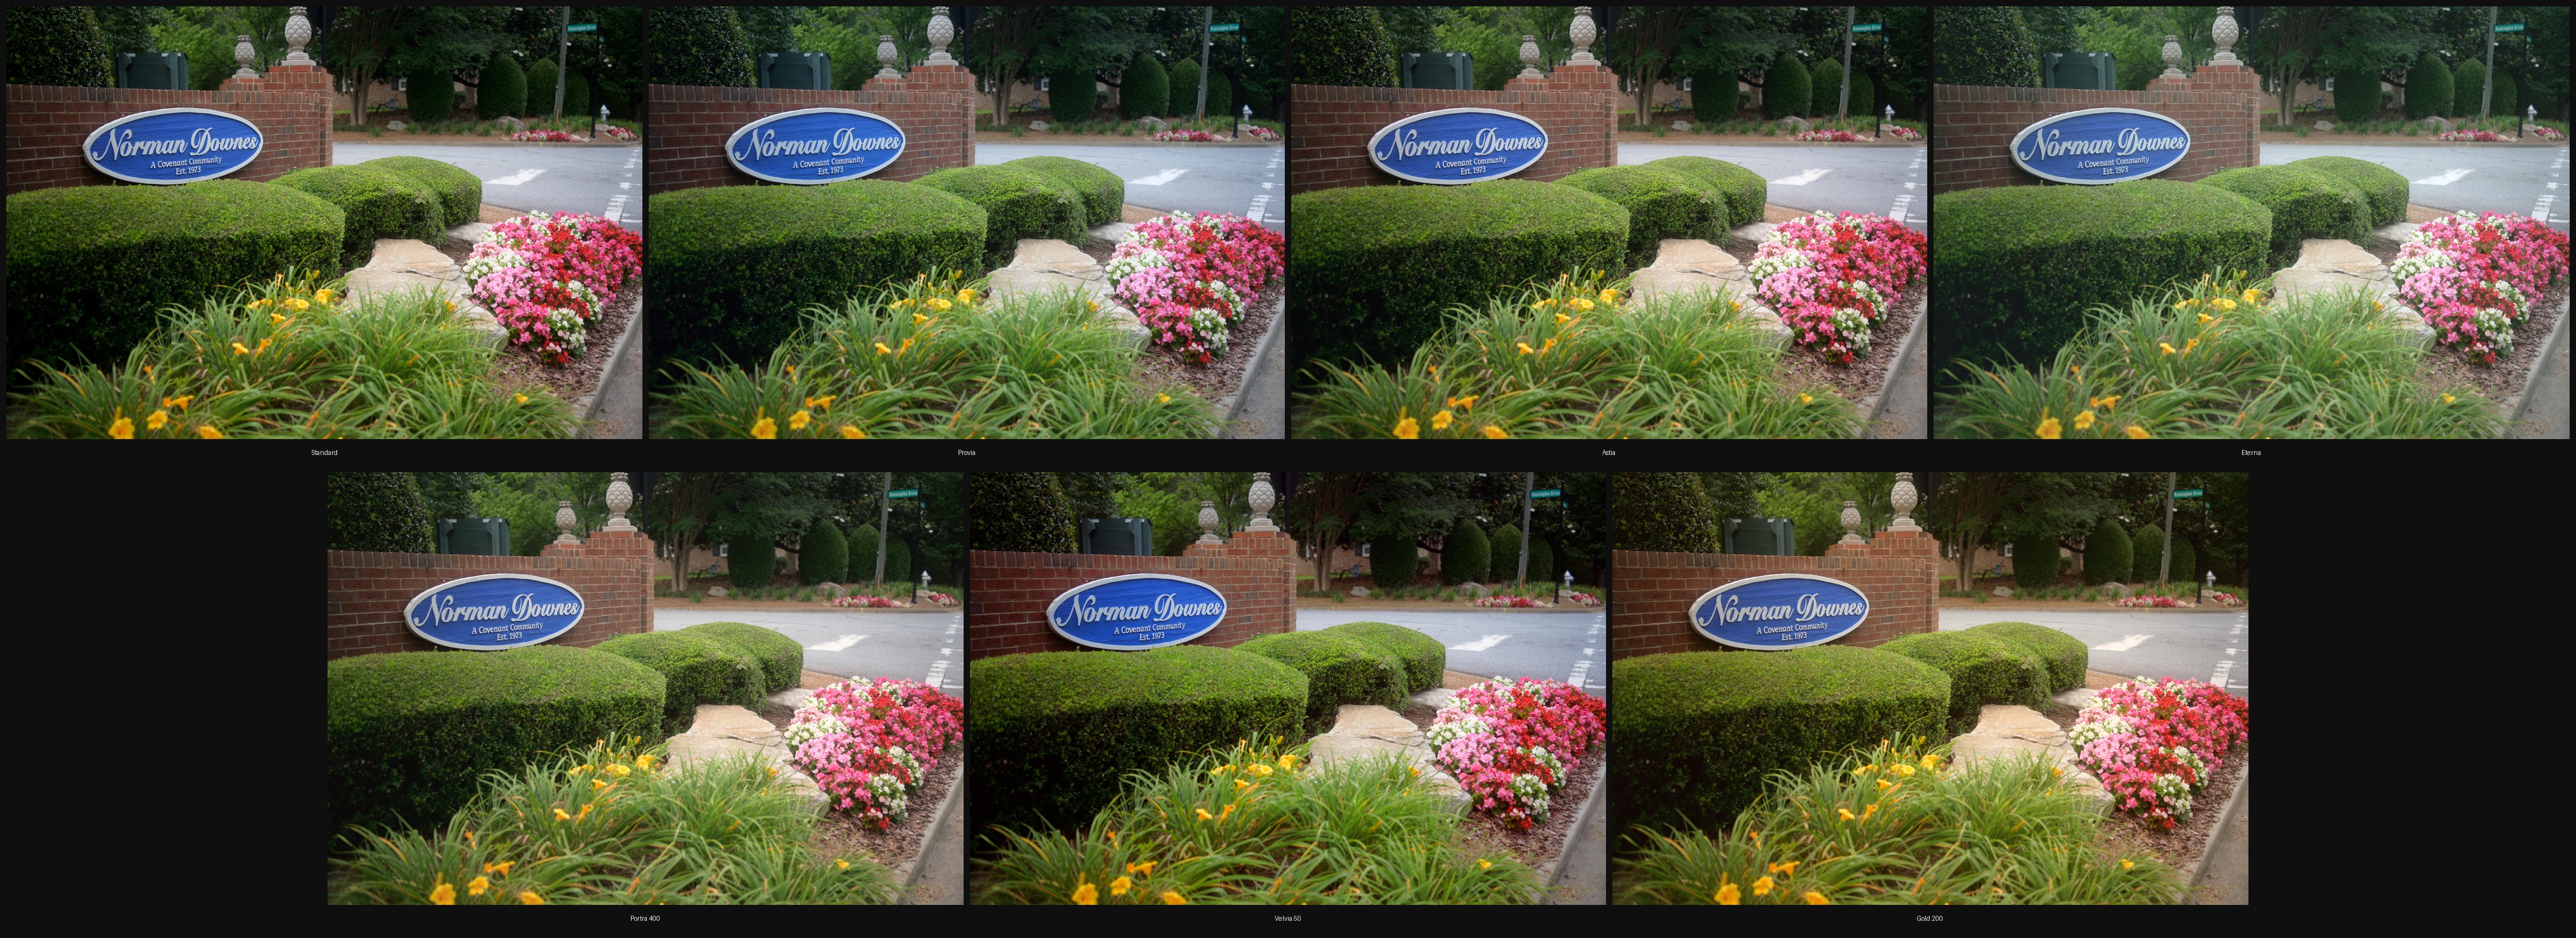
All 6 LUTs — Same Scene
Lumix S9 · Standard Photo Style · AWB · Norman Downes
How to install
your LUTs.
Download the .cube file
Click the Download button on any LUT above. Save the .cube file somewhere you can find it — a dedicated LUTs folder is recommended.
Lumix Lab (in-camera)
On your Lumix S5IIX or S9, open Lumix Lab. Select Standard photo style first, then navigate to LUT import and select your .cube file via USB or SD card.
Lightroom / Resolve / Premiere
In Lightroom Classic: Develop → Color Grading → Creative → import LUT. In DaVinci Resolve or Premiere: add a LUT node/effect and browse to your .cube file.
Lumix Lab · Adobe Lightroom Classic · DaVinci Resolve · Adobe Premiere Pro · Final Cut Pro · Capture One · Affinity Photo
Built and tested on Lumix S5IIX and Lumix S9. Should work on any camera shooting in a neutral/flat profile, though results may vary across sensors.
The Lumix sensor has a warm/red bias. These LUTs account for that. For best results, select Standard photo style in Lumix Lab before applying.
Free for personal and commercial use. No credit required but always appreciated. Do not redistribute or resell as your own.